The Select Perspective dialog appears.
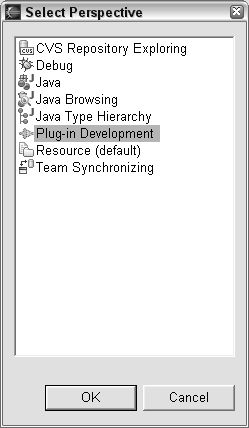
The Plug-in Development perspective appears.
The Plug-in Project wizard appears.
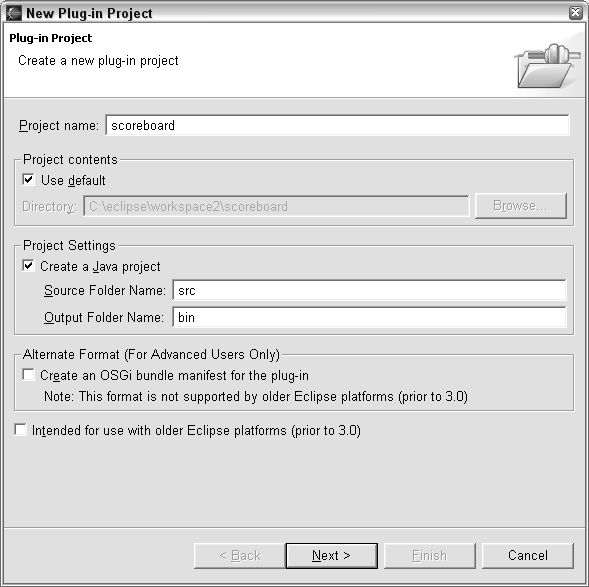
In this example, type scoreboard.
WARNING: Be sure to start scoreboard with a lowercase letter s.
The Plug-in Project wizard's second page appears.
The wizard disappears. The workbench's editor area displays the Plug-in Manifest editor. The manifest
editor's Overview page is visible.
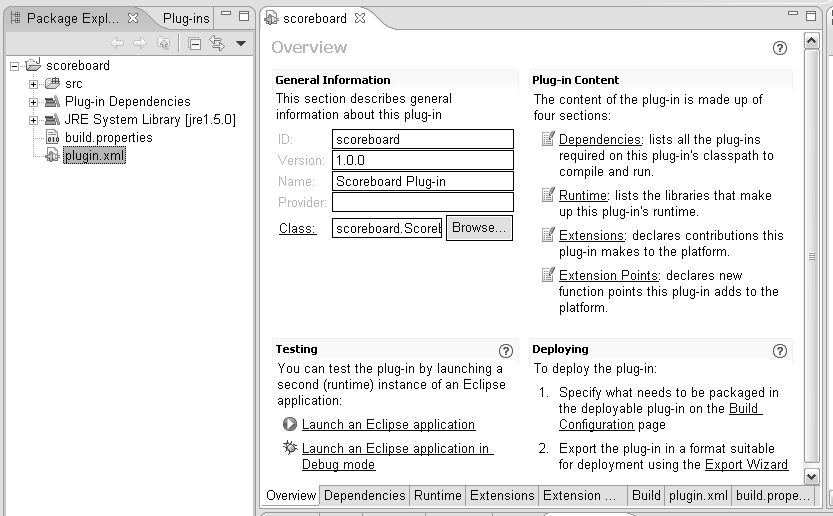
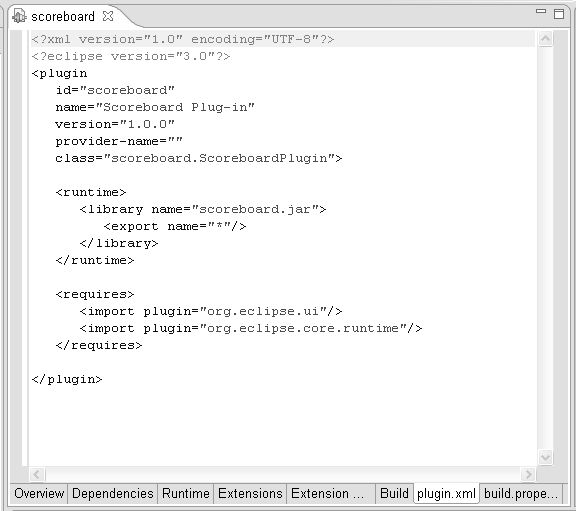
The Plug-in Manifest editor gives you a graphical representation of the plugin.xml file's contents. (This
plugin.xml file is a kind of "deployment descriptor" for your new Eclipse plugin.) You can see the plugin.xml
file's text by selecting the editor's plugin.xml tab.
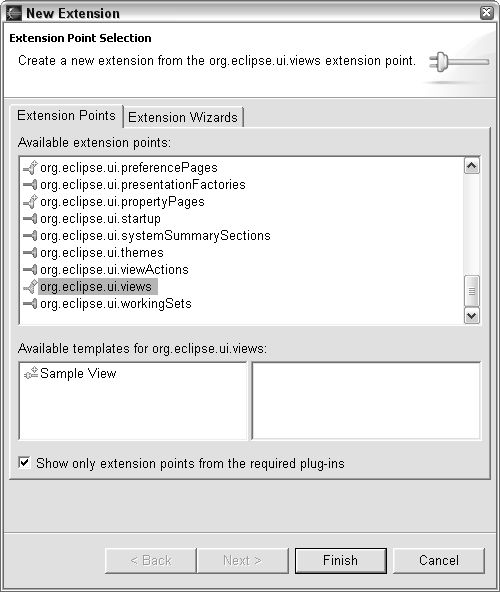
The New Extension dialog appears.
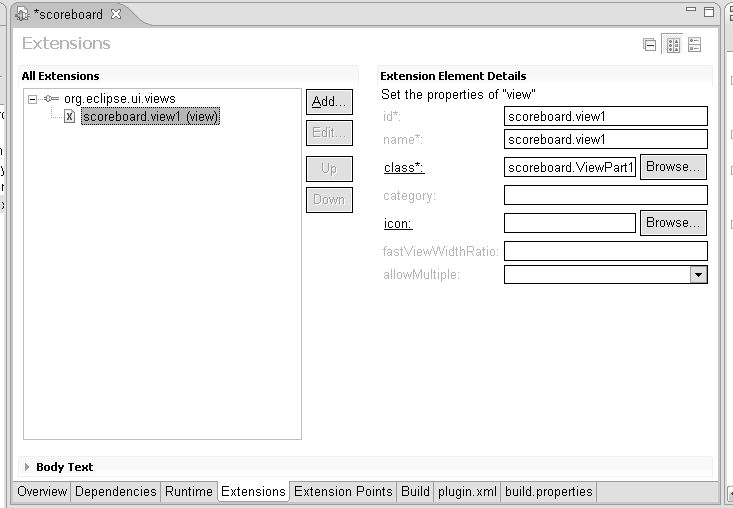
The New Extension dialog disappears.
Eclipse creates a view with default name scoreboard.view1, and shows you the details on the right side of
the editor page.
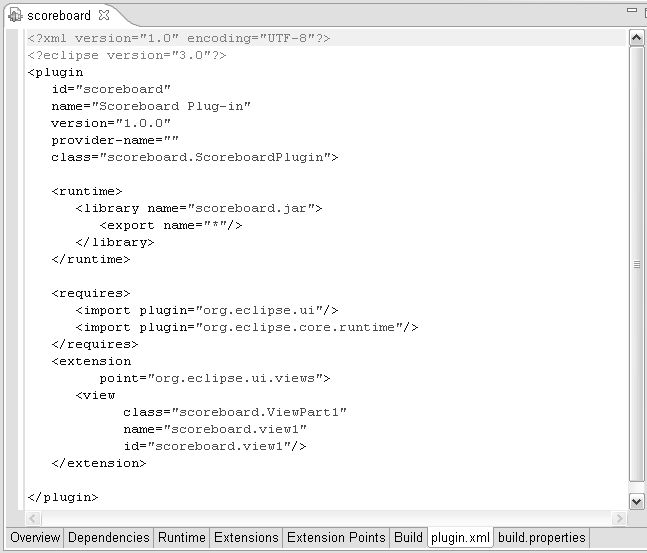
The plugin.xml file reflects the changes you made.
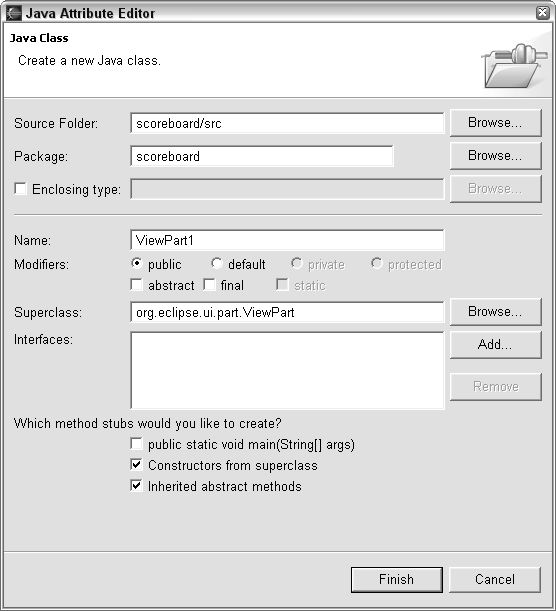
Now it's time to create the plug-in's Java code.
class*: link.
The Java Attribute Editor appears.
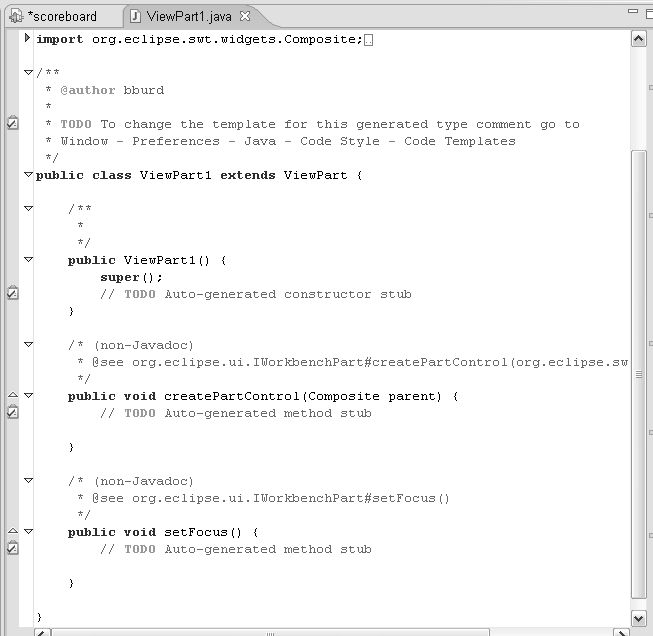
Eclipse creates a skeletal version of your new ViewPart1.java file.
createPartControl method's body with the
following text:
Table table = new Table(parent, SWT.SINGLE);
table.setHeaderVisible(true);
table.setLinesVisible(true);
TableColumn column1 = new TableColumn(table, SWT.LEFT);
TableColumn column2 = new TableColumn(table, SWT.LEFT);
TableItem row1 = new TableItem(table, SWT.NONE);
TableItem row2 = new TableItem(table, SWT.NONE);
column1.setWidth(100);
column1.setText("Home");
column2.setWidth(100);
column2.setText("Visitor");
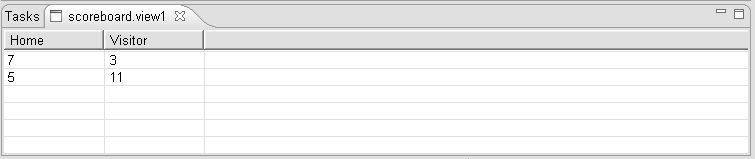
row1.setText(new String[] { "7", "3" });
row2.setText(new String[] { "5", "11" });
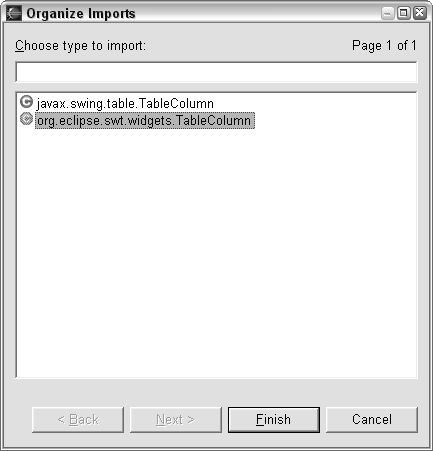
With the addition of this code, your program needs a few more import declarations.
The Organize Imports dialog appears.
Your plug-in is ready to run.
A new version of the Eclipse workbench starts running.
The Show View dialog appears.
Your new view appears in the workbench's lower right area.